2017 February 28
Star trails
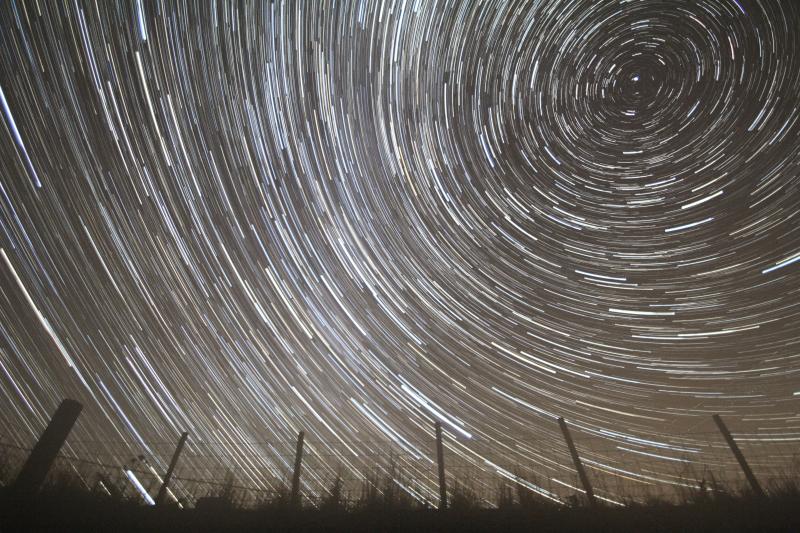
What you need: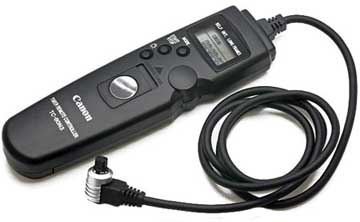
- Tripod.
- Camera capable of taking 20-30 second exposures (or longer); DSLR ideally.
- Intervalometer (some cameras have them built in, but Canon’s generally don’t; you can get them off ebay for most cameras starting at £15), otherwise just be very careful not to shake the camera.
- A clear, moonless night; I’d try and avoid the week before or after a full moon.
What to do:
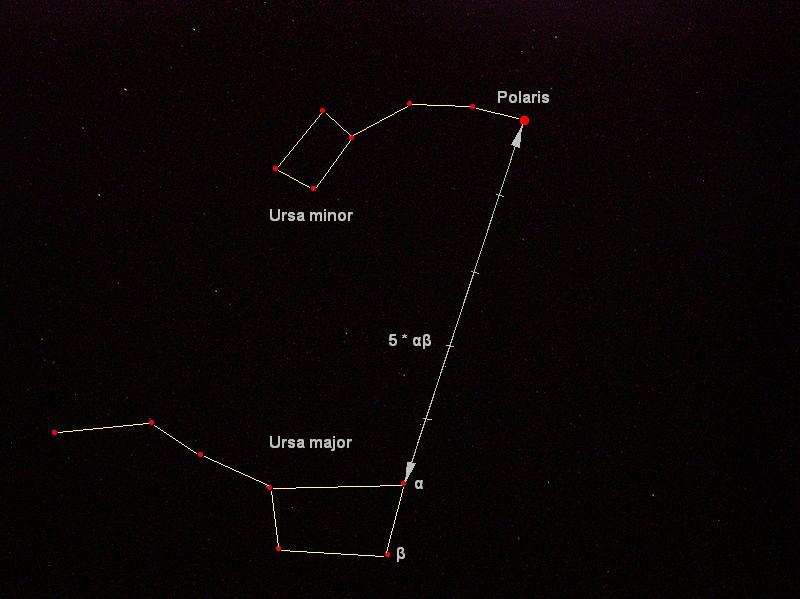
- Find the North Star; look north, find the Big Dipper, then follow its two end stars and they point to the North Star which isn’t very bright.
- Point the camera at the North Star.
- Set the camera to: record large jpeg images (you’ll need an empty 2GB memory card); ISO 1600; the lowest f/ number the lens has (probably around f/4); set the focus to infinity and turn off autofocus; if the lens has an adjustable focal length, set it to its widest angle (lowest focal length number); then either set the shutter speed to 20-30 seconds, or use the BULB setting (often in manual mode) and use the intervalometer to operate the shutter and take a 20-30 second exposure.
- Take a test shot to make sure the focus is OK, and that there is no obvious street lamps or neighbours security lights shining into the lens, if so, find a different spot in the garden. If the image is too light reduce the ISO to 800 and try again (reduce further if necessary); if the image is too dark, try taking an exposure for 45-60 seconds instead.
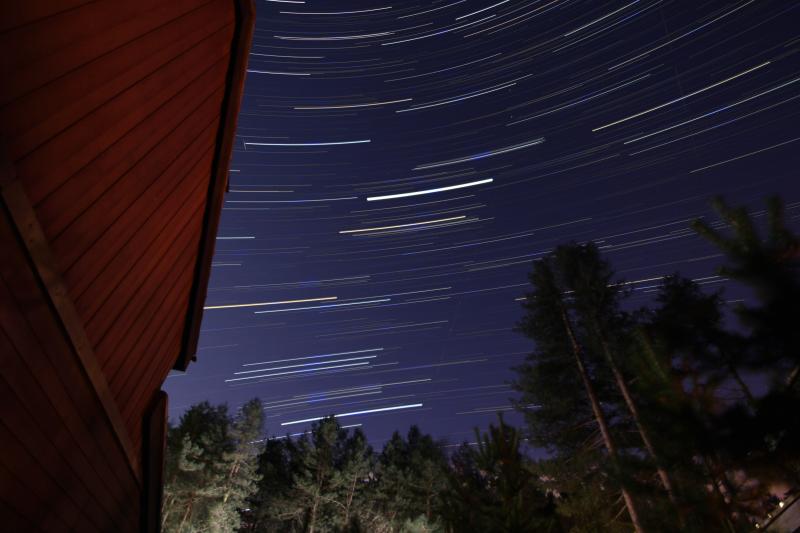
- Once you have the North Star framed nicely and in focus, you can start taking your series of pictures; I set my intervalometer to take a picture, wait two seconds, take another picture, wait two seconds etc. Once the camera has starting taking pictures, don’t move or touch the camera or tripod. Leave it for 30 minutes when starting out, but increase the length of time as you get the hang of it, an hour, two hours, three hours…
- It can be worthwhile checking the front of the lens to make sure it is not getting misty; you can do this by using a torch to shine on the lens very quickly in the two second gap between pictures (if you make the gap five seconds it is easier to do this check). If you have a misty lens, you need to stop as the pictures will be useless (see trouble shooting).
Once you’ve got some pictures:
- You may have 50-1000 pictures; download them onto the PC.
- I use this free software to stack images:
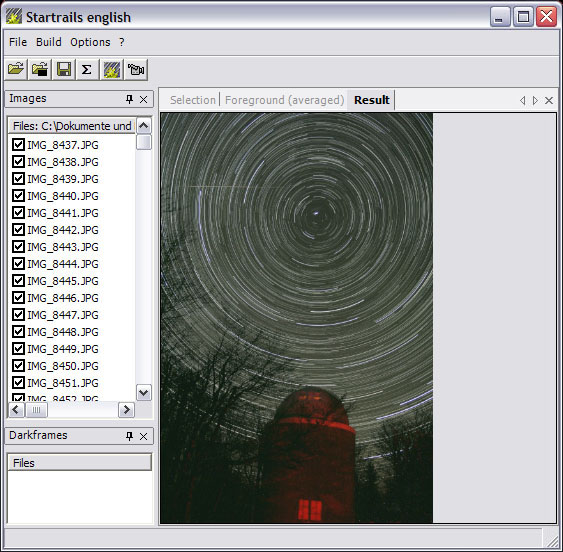
Free startrails software used to stack images. - http://www.startrails.de/html/software.html
- Sort through the pictures, and remove the test images at the start of the session and any misty ones at the end.
- Load the pictures into the stacking software, and instruct it to build a star trail with them.
- The software can take 30 minutes to do this, so just leave it running and have a cup of tea 🙂
- If you have the skill you can adjust the final image in Photoshop or equivalent software.
- Take images as RAW if you plan to use Photoshop, but use a bigger memory card.
Trouble shooting:
- Mist/dew:- it is not uncommon for mist/dew to form on the front of the lens after an hour or so. To combat this you can gently tape a hand warming pack around the lens; they put a bit of warmth into the lens and delay the misting up. Be careful not to adjust the focus when you do it though.
 Light pollution:- if you get lots of orange glow in your test images you may be detecting light pollution. You could try pointing the camera in another direction, say east, or west or south, try again. If it persists, take a series of images anyway and stack them, as there are ways to reduce the light pollution afterwards with the final image (check online). You can buy light pollution filters to fit onto the camera too, but these are not cheap and you’ll need to experiment with the settings as they also reduce the amount of star light getting to the cameras sensor (you’ll need much longer exposures, say 60-120 seconds).
Once you’ve grasped the basics:
- Experiment; point the camera east, west, south, straight up!
- I think the best star trails have something in the foreground. Pick something which won’t move as it will look blurred.
- If you have a telescope dew heater, put a dew band around the lens and use that to keep the dew at bay.
- If there is a meteor shower coming up, point the camera at the radiant (origin) of the shower and do a star trail, and see if you can deter any meteors; equally if the ISS is passing overhead (check: http://spotthestation.nasa.gov/) try and capture it passing through your star trail.
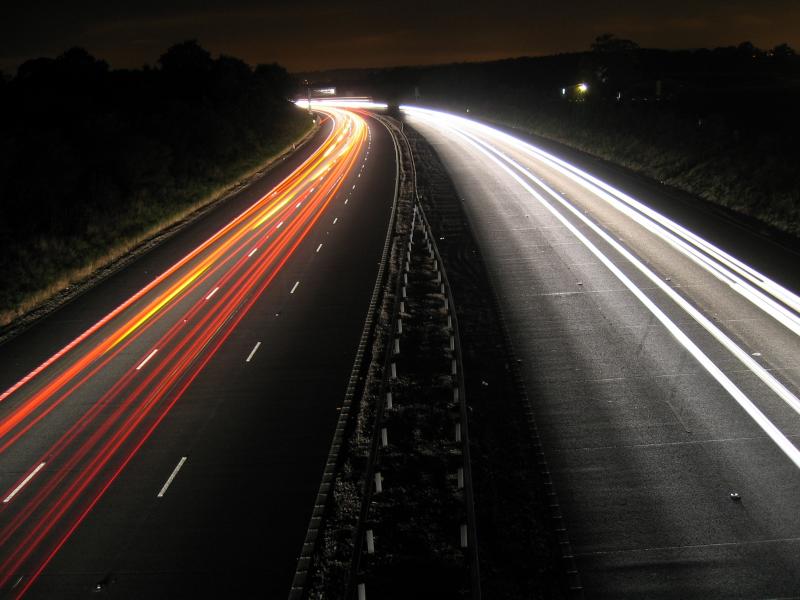
- Find a bridge over an unlit stretch of motorway and try some Motorway Trails. Be careful not to put yourself or others in danger though on a dark road, and don’t go alone.
James Dawson
James Dawson is an amateur astronomer from Nottingham.
https://britastro.org/wp-content/uploads/2017/02/post-25543-0-24212300-1444901139.jpeg
| The British Astronomical Association supports amateur astronomers around the UK and the rest of the world. Find out more about the BAA or join us. |
