Maintaining a Schmidt–Cassegrain
2023 August 10
Schmidt–Cassegrain telescopes (SCTs) are versatile, compact and effective instruments for visual observing of all kinds, and for imaging of smaller targets such as planets and some deep-sky objects. They require less maintenance than Newtonians and other Cassegrains, as the mirrors tarnish far more slowly in the semi-sealed tube than they would in an open-tubed telescope. But their images are very sensitive to collimation, and eventually they may need cleaning inside and the mirrors recoating.
Collimation
The method that I recommend for collimating an SCT is, firstly, to judge it in daytime, on a bright sky, using an eye-stop (a tiny aperture that centres the eye) at the back of the telescope. The best thing is an old 35mm film canister with the end cut off, and a 1mm hole drilled in the lid. This fits in place of a 1.25-inch diameter eyepiece. Looking through it, you see only the secondary mirror reflecting the illuminated primary mirror. Rough collimation can be achieved by adjusting the screws at the back of the secondary mirror until the black spot reflected in the secondary (the hole in the primary) looks central. The screws are a very simple system, so when one is loosened, the other two need to be tightened. As it is necessary to go from one end of the telescope to the other while doing this, it really helps to make notes of what the effect is of adjusting each of the screws. These notes help in the next stage, at night.
More precise collimation is achieved using a slightly out-of-focus second-magnitude star centred precisely in an eyepiece field. The star should be above 40° in altitude, and a night of good seeing is required. The telescope needs to be accurately driven to follow the star; if it is not, the best option (in the northern hemisphere) is to use Polaris, which does not move very much. A magnification of ×200–400 is used.
Far from focus, the familiar ‘doughnut’ light pattern is seen: a disc of light, with the central shadow of the secondary – essentially the same as was revealed by the daytime examination with the eye-stop (Figure 1A). This image can be used for rough collimation in the same way, but for precise collimation, we need to be closer to focus.
As we move in to focus, the ‘doughnut’ contracts and turns into a series of bright and dark diffraction rings (Figure 1B). If these are broader on one side than the other, then we need to adjust the collimation screws to move the whole image in the direction of the broad side of the rings. After doing this, the star will no longer be centred in the field. It must be recentred, and then the image will be found to be more symmetrical than before.
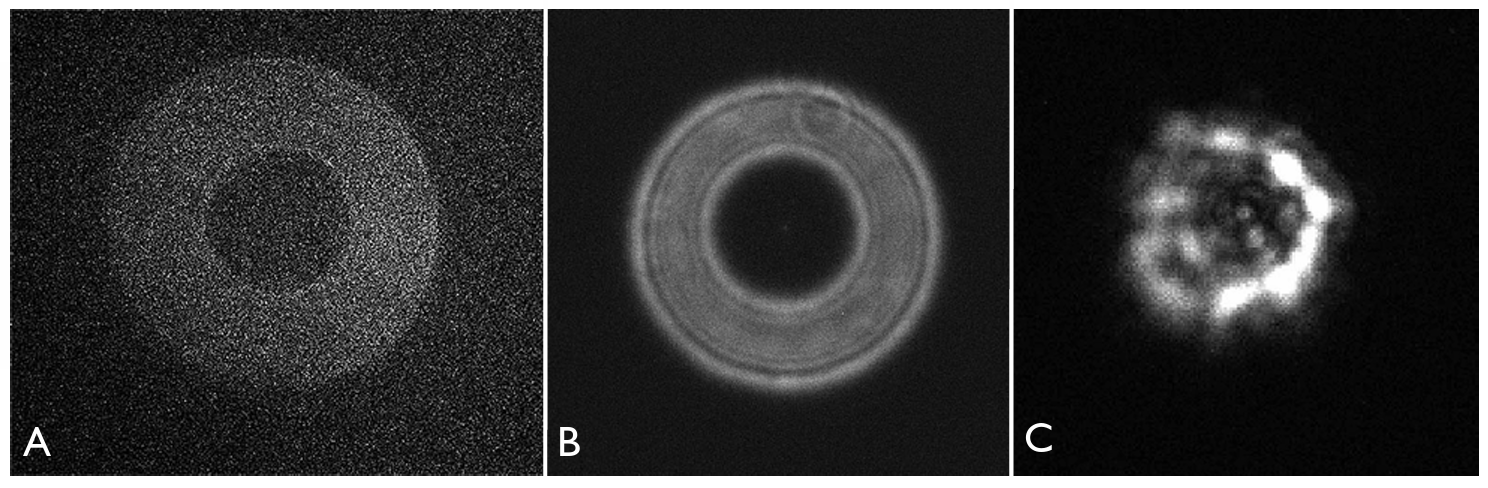
In the final, most precise stage of collimation, the image is brought very close to focus. The outer ring in the pattern becomes very bright, probably asymmetrically so, and a series of very fine concentric rings appear within it, replacing what was previously the ‘hole’ in the ‘doughnut’ (Figure 1C). The collimation at this stage should be very finely adjusted, again to move the image in the direction of the broad, ‘flared’ part of the pattern, and in the opposite direction to the brightest part of the outer ring. On recentring the star, its defocused image should look almost perfectly symmetrical.
At perfect focus, the bright central disc and outer fine rings of the Airy diffraction pattern might be expected. In practice however, particularly with larger SCTs (over eight inches in aperture) and in average conditions, these are not distinctly visible in the way they are through small refractors, being lost in the general atmospheric scintillation and scatter of light.
Cleaning & disassembly
Cleaning the front of the corrector plate will probably be required at least annually. This should be done very gently, with cotton-wool pads or tissues, applying alternating washes of distilled water and alcohol. Optical wipes may also be used. Do not rub in circles, as this could remove the anti-reflection coating and then change the figure of the glass. Use short, lifting wipes, each of which is an arc, with each piece of cotton wool or tissue used for only one wipe. Do not be obsessive about cleaning optics, or you will overdo it. You probably will not get perfection, and small streaks or interference colours remaining from thin residue layers are of no consequence.
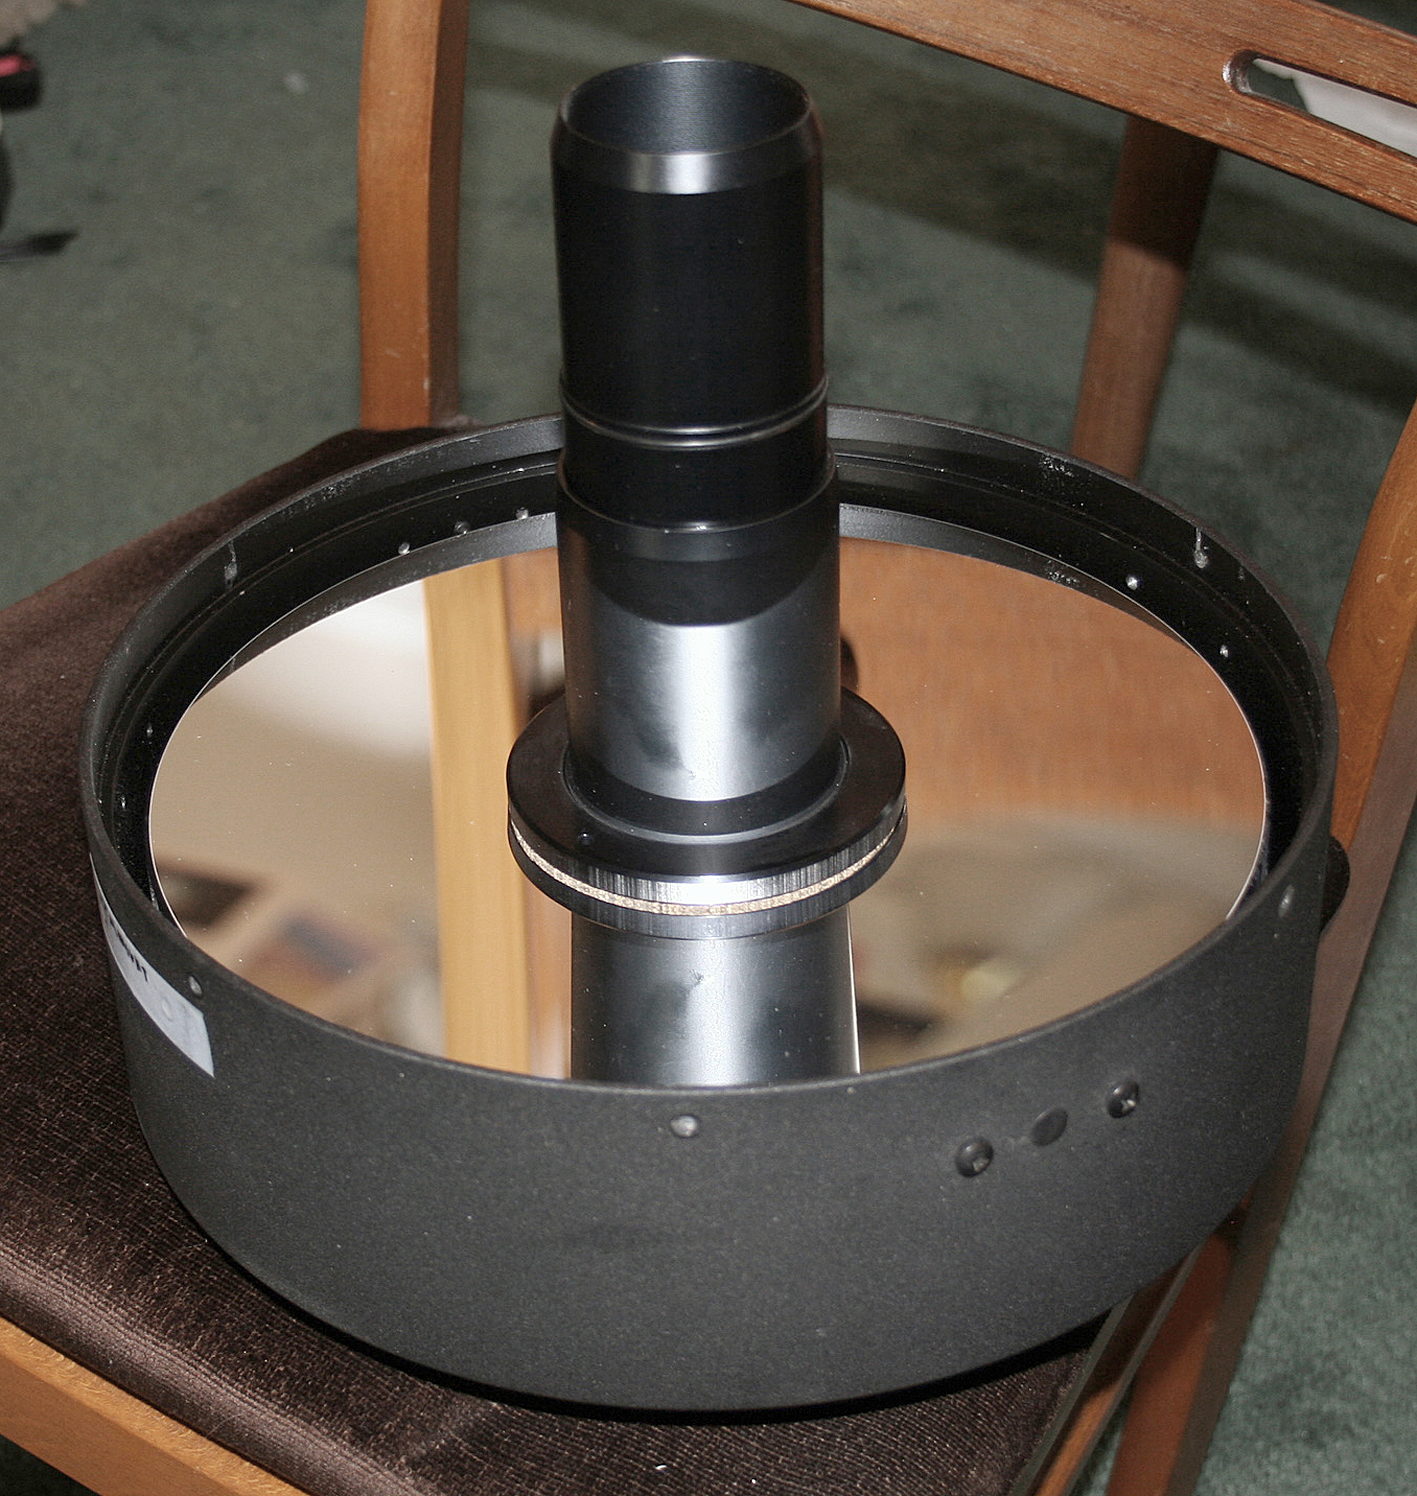
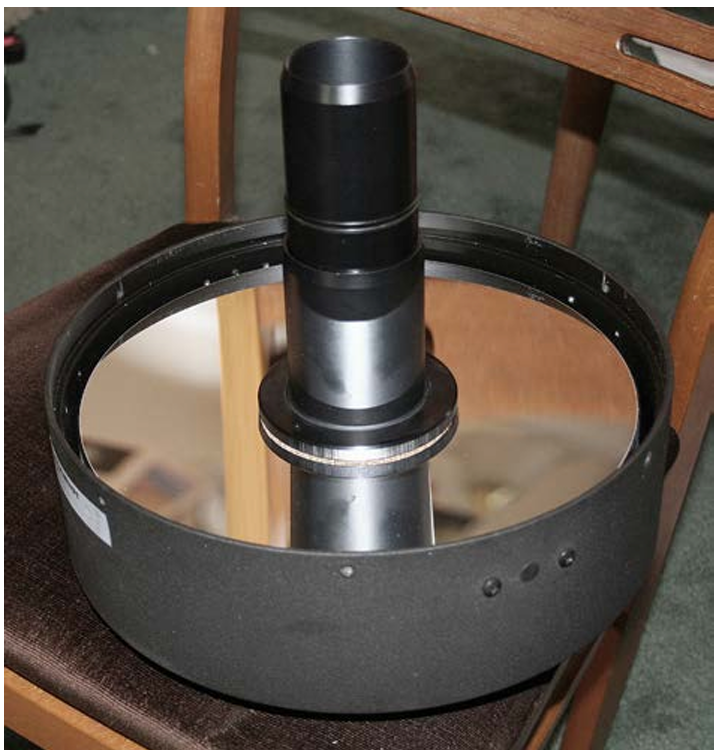
If you decide you need to clean inside the telescope (for example, because spiders or insects have got in), you will have to remove the corrector plate. Here you will probably encounter the problem that it has become stuck to the pads that separate it from the metal of the cell, and will not move even after all the screws and the retaining ring are removed. Obviously, no force should be used as it is very thin. Drip in some isopropyl alcohol all round the corrector, so it runs on to the inside surface and into the interfaces with the pads. After a time, this should loosen it. (Ensure your tube is tilted upwards so it cannot fall out!) Then both surfaces of the corrector will need to be cleaned. The mirrors may be cleaned, if necessary, by similar methods, but proper access to the primary will necessitate further tube disassembly. Methods for this vary between Celestron and Meade models, but videos of the process exist on YouTube for both types.
SCTs can have a correct relative orientation of the optics, as the primaries and correctors may both be astigmatic, but have been matched in the factory to cancel the errors when in the correct orientation. It is important when disassembling, therefore, to mark the edges of the corrector and of any mirrors that are removed from their cells, plus the edges of the cells, so everything can be put back together in the original orientation. Tippex correction fluid works quite well for this. It may be found that dark, factory-applied orientation marks are present on the edges already.
https://britastro.org/wp-content/uploads/2023/08/Celestron-11-stripped.tif
| The British Astronomical Association supports amateur astronomers around the UK and the rest of the world. Find out more about the BAA or join us. |